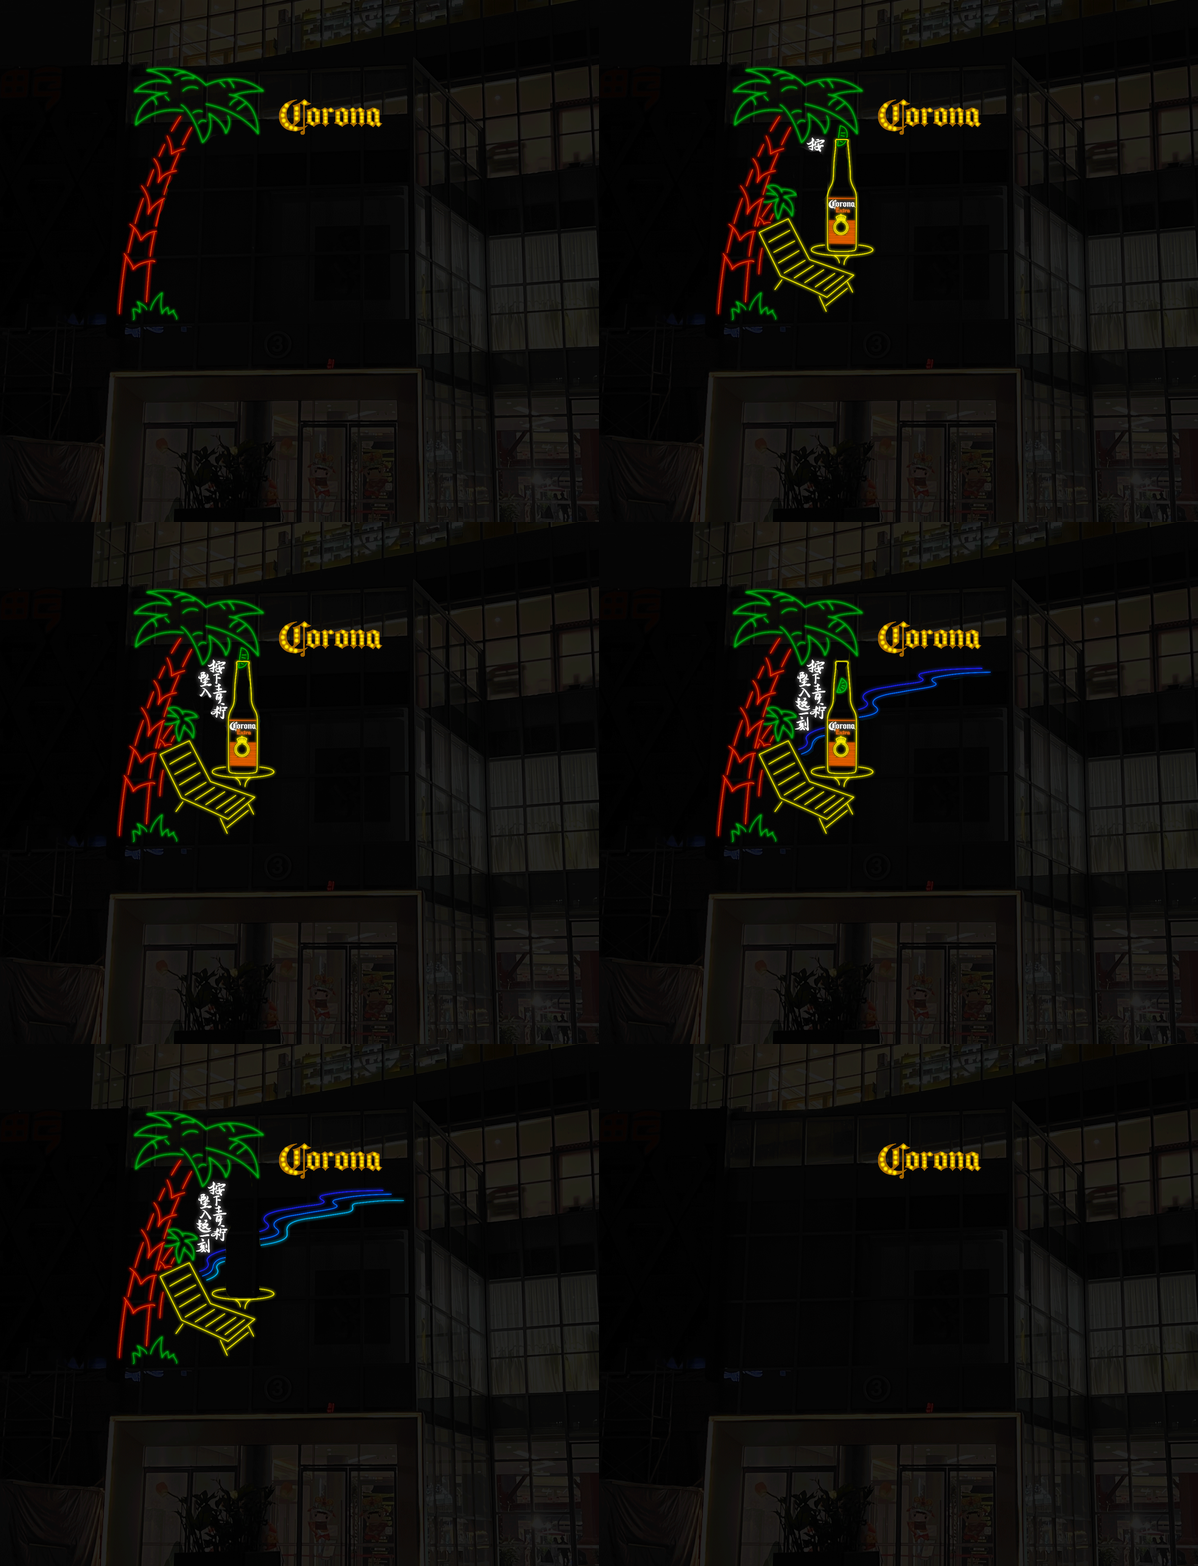
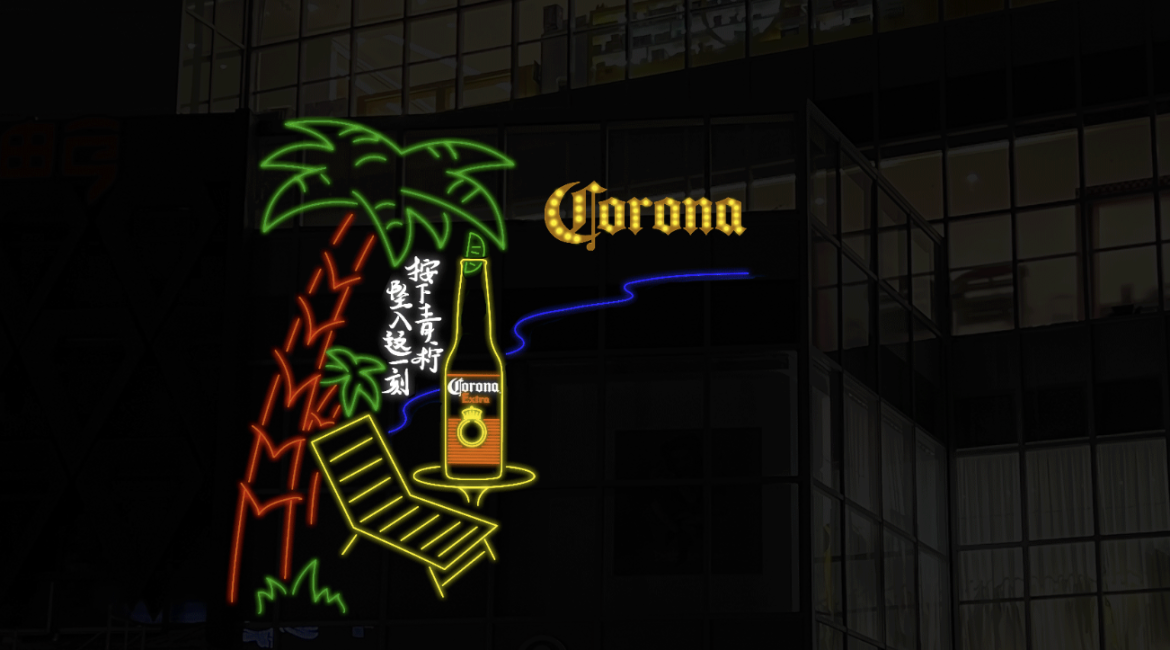
Designing a neon sign that effectively enhances store recognition requires careful consideration and a strategic approach. Follow these step-by-step instructions to create a captivating neon light logo that resonates with your target audience:
Step 1: Define your brand image
To design a captivating neon sign, it’s crucial to start by gaining a clear understanding of your brand’s characteristics, values, and target audience. This foundational step will provide a solid direction for the design process, ensuring that your neon sign aligns seamlessly with your brand identity and resonates with your desired audience.
- Gain a clear understanding of your brand’s characteristics, values, and target audience.
- Use this knowledge as a foundation for the design process, ensuring a cohesive representation of your brand.
Step 2: Choose suitable neon light elements
Selecting the right neon light elements is essential to convey your brand message effectively. It’s important to choose elements that are in line with your brand image or relevant to your business. For example, if your brand evokes notions of speed and agility, incorporating elements like streamers or dynamic lines can effectively communicate that message through your neon sign.
- Select neon light elements that align with your brand image or are relevant to your business.
- For instance, if your brand emphasizes speed and agility, consider incorporating elements like streamers or dynamic lines.
Step 3: Design the basic elements
When designing your neon sign, create one or more basic elements that will serve as the foundation for your logo series. Design a distinctive graphic or symbol that encapsulates the essence of your brand. Alongside that, choose a suitable font and color scheme that complement the design. Keeping the design simple yet impactful will allow the neon effect to shine through.
- Develop one or more basic elements that will serve as the foundation for your logo series.
- Create a distinctive graphic or symbol, accompanied by an appropriate font and color scheme.
- Keep the design simple but impactful, accentuating the mesmerizing neon effect.
Step 4: Add neon light effects
Utilize design software to enhance your basic elements by adding captivating neon light effects. Experiment with different colors, blinking effects, dynamic lines, and other techniques to make your logo visually engaging and dynamic. These effects will further amplify the appeal of your neon sign and attract attention.
- Utilize design software to merge the basic elements with neon light effects.
- Experiment with different colors, blinking effects, dynamic lines, and other techniques to enhance the visual appeal and dynamism of your logo.
Step 5: Create a series
Extend your design efforts beyond the primary neon light logo by creating a series of related logos. Consider designing corresponding tags or badges for different products or services that your brand offers. Maintain consistency in the color scheme and font, while introducing unique dynamic effects for each logo in the series. This will create a cohesive visual identity for your brand.
- Extend your design efforts beyond the primary neon light logo by developing a series of related logos.
- Consider designing corresponding tags or badges for different products or services.
- Maintain a consistent color scheme and font, while introducing unique dynamic effects for each logo in the series.
Step 6: Consider scalability
While designing your neon sign, keep in mind how it will appear across various media and platforms. Although the neon light logo may have a captivating effect on screens, ensure it remains visually appealing when printed or displayed on physical materials such as signs. Consider scalability to maintain the logo’s attractiveness and impact across different mediums.
- Throughout the design process, remember to envision how your logo will appear across various media and platforms.
- While the neon light logo may have a captivating effect on screens, ensure its visual appeal remains intact when printed or displayed on physical materials, such as signs.
Step 7: Gather user feedback and conduct testing
Once you have a preliminary design, seek feedback from potential customers and conduct testing. This will provide valuable insights into the logo’s appeal and recognition. By collecting feedback, you can make necessary adjustments to improve the logo’s effectiveness and ensure it resonates with your target audience.
- Once the initial design is complete, actively seek feedback from potential customers and conduct testing.
- This invaluable input will provide insights into the logo’s appeal and recognition, enabling you to make necessary adjustments.
Step 8: Continuously optimize
After finalizing the design, continue to optimize and update the logo based on store development and market feedback. This ongoing refinement process allows your logo to remain fresh and relevant over time. By consistently improving the design, you can enhance store recognition and stay competitive in the market.
- Finalize your design based on the feedback received and implement necessary refinements.
- Regularly update the logo to align with store development and market feedback, ensuring its ongoing freshness and relevance.

In conclusion, designing a neon sign requires innovative thinking, strategic branding, and a strong focus on user experience. By carefully planning, incorporating user feedback, and continuously refining the design, you can create a highly recognizable neon light logo that enhances store recognition and provides a competitive advantage.


